Section Topics
Personalizing Your Reports
Depending on how your organization’s reports have been configured, you may be able to personalize some reports when viewing them in the Report Chooser.
Two different types of reports can be personalized:
- Overview reports can be personalized to include specific sections of InterAction data. Activity/appointment sections may have date range and/or originator filters that can be changed.
- Contact reports that include activities and appointments can be personalized to limit activities and appointments to a particular date range.
If a report is designed to allow personalization, the Personalize link displays in the Report Chooser. Choose Personalize to select the data to include in your report.
Note: Not all reports can be personalized.
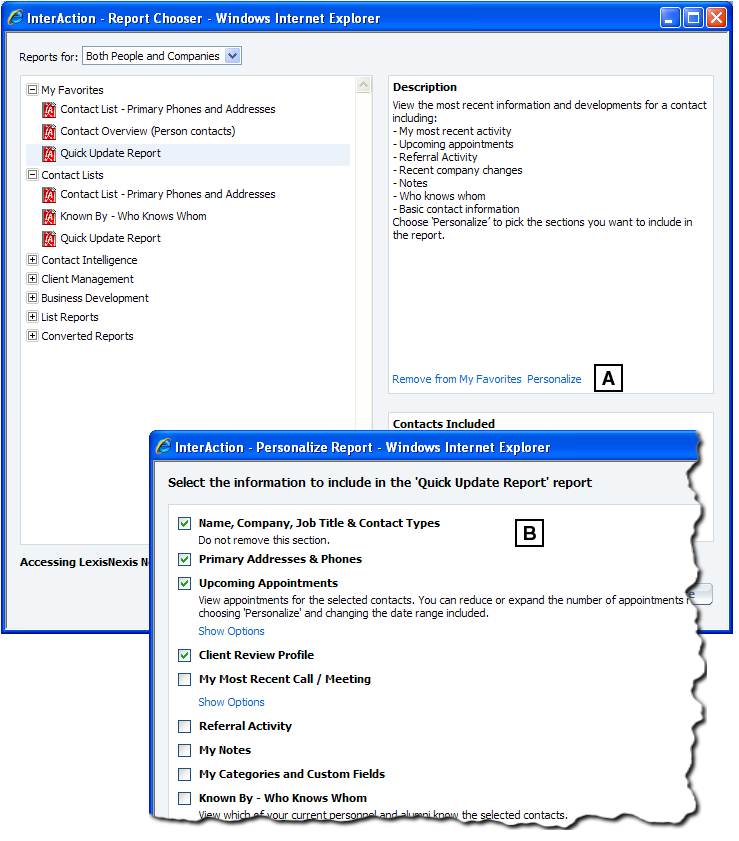
[A] Choose the Personalize link to personalize a report.
[B] The available personalization options display. The options available depend on how the report was configured by your organization.
Options you choose in the Personalize Report dialog box are saved. Next time you choose Personalize to customize the report, the options you previously chose are selected.
Personalizing Overview Reports
Overview reports (also known as Contact Intelligence or Taxi reports) let you include specific sections of InterAction data in your report. For example, an Overview report might include sections for Contact Information, My Notes, Firm Notes, Recent Activities, and Upcoming Appointments. You can include any of these sections in your report and in some cases, filter the data within specific sections.
-
Open the Report Chooser for a contact or list of contacts.
-
Select the report in the list then choose Personalize. The Personalize Report dialog box displays.
-
Select the sections to include in the report by selecting the check boxes for the options in the list.
-
Sections that allow personalization display a Show Options link. Select the link and choose personalization options as desired.
-
Choose OK to save your changes and return to the Report Chooser.
Personalizing Overview Reports
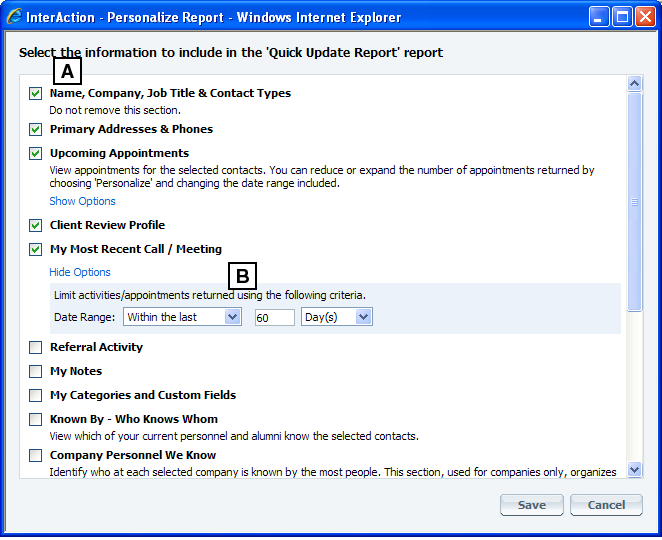
[A] Select the sections to include in the report by checking the boxes.
[B] If the section is designed to allow personalization options, choose the Show Options link and further customize that section of the report.
Personalizing Activity/Appointment Options in Contact Reports
If a contact report that includes activities or appointments allows personalization, a Personalize link displays.
To personalize these reports:
-
Open the Report Chooser for a contact or list of contacts.
-
Select the contact report in the list then choose Personalize.
The Personalize Report dialog box displays.
-
Choose the activity or appointment options you want on your report.
-
Choose OK to return to the Report Chooser.

Personalizing Activity/Appointment Options on a Contact Report