Section Topics
Customizing Toolbars for the Windows Client
You can access most InterAction commands using the toolbar buttons. InterAction allows you to modify the toolbars InterAction provides. You can also create your own toolbars.
You can move a toolbar by dragging it. To move a toolbar button, hold down the Alt key and drag the button. You can move a button to a new location on the same toolbar or to a location on a different toolbar. To remove a button, hold down the Alt key and drag it off the toolbar.
Add Buttons to Toolbars in the Windows Client
-
Log on to the InterAction Windows Client.
-
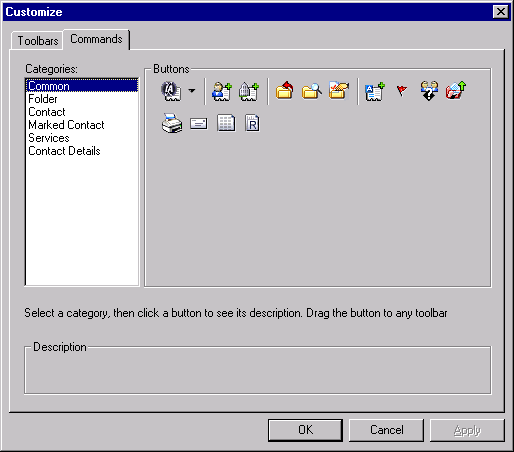
Choose Tools > Customize to open the Customize dialog box and select the Commands tab.

-
Select a category to find the button you want to add.
-
Drag the button from the Commands tab to the toolbar.
Create a New Toolbar for the Windows Client
-
Log on to the InterAction Windows Client.
-
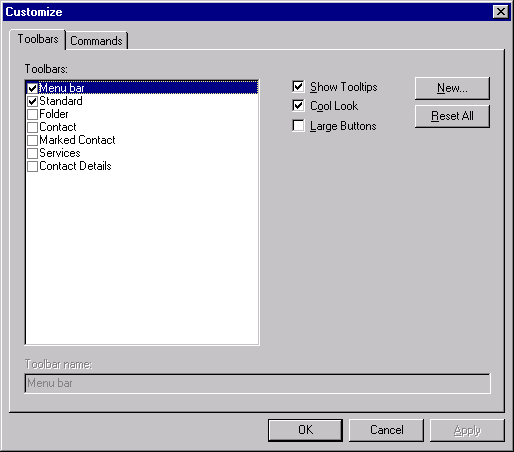
Choose Tools > Customize to open the Customize dialog box.

-
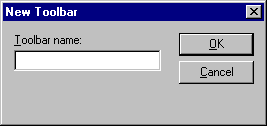
Choose New to open the New Toolbar dialog box.

-
Enter the Toolbar name and choose OK to create a blank toolbar.
-
To add buttons, see Add Buttons to Toolbars in the Windows Client. To close the Customize dialog box, choose OK.
Reset All Toolbar Settings for the Windows Client
Performing these steps will delete any custom toolbars.
-
Choose Tools > Customize to open the Customize dialog box.
-
Choose Reset All. You will need to exit and restart InterAction for the reset to take place.
