Section Topics
Adding a Logo or Picture
To make reports appear customized and more visually attractive, consider adding your organization’s logo. Adding a logo or picture to a report embeds the graphic in the HTML - you don’t have to put the file on a server to make it appear in the report.
Before beginning, determine where you would like the logo to display. Do you want it to display on every page or just the first page? The answer to this question determines where you will place the Picture control in the InterAction Report Designer.
NOTE All InterAction out-of-the-box reports include a logo in the PageHeader that includes the name of the report.
To add a logo to a report:
-
From the toolbox, choose Picture.
-
Move the mouse pointer to the section where you want to add the picture. Click and drag the mouse to size the rubber band to the desired size of the picture.
To add the logo to the top of just the first page of the report, add the logo to the ReportHeader section. If you do not already have a ReportHeader section on your report, right-click anywhere in the report detail area then choose Insert > Report Header/Footer.
To add the logo to the top of all pages of the report, add the logo to the PageHeader section of the report. If you do not already have a PageHeader section on your report, right-click anywhere in the report detail area then choose Insert > Page Header/Footer.
-
With the picture control selected, choose the search button in the Image property to navigate to the image file.
-
After you locate and choose the image, the image displays in your report. Position the image where you would like it to display.
-
Choose File > Save Layout.
-
Choose Preview to preview the report.
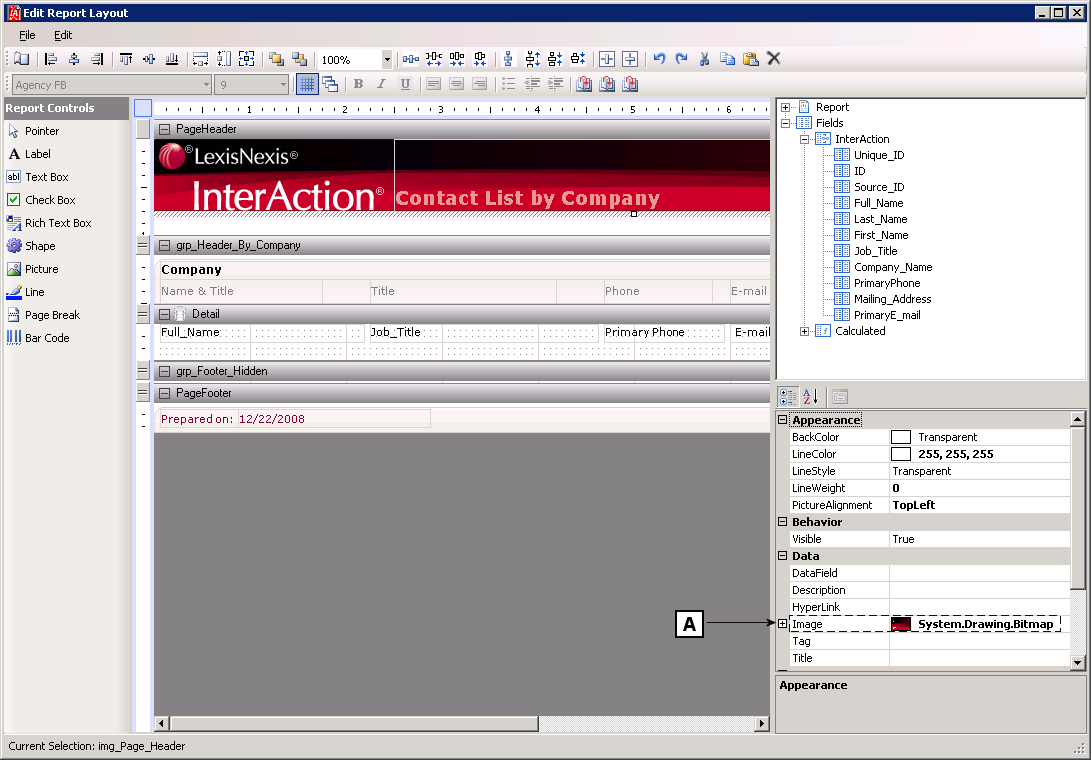
Selecting an Image
[A] To select an image, choose search button in the Image property under Data, and then navigate to the image.
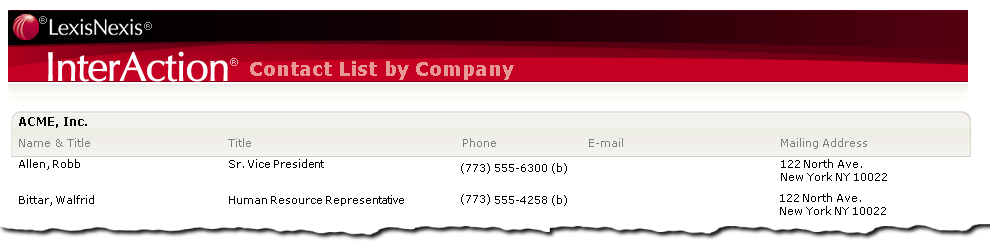
Image Preview